How can I enable CBT manually?
Answer
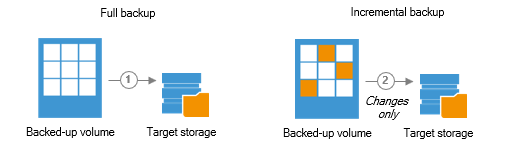
Changed Block Tracking speeds up incremental backup and replication.
Due to technical limitations, CBT cannot be enabled in Free ESXi automatically.
ESXi 5.1 and earlier
CBT can be enabled manually by editing the VM settings.
To enable CBT in a virtual machine on Free ESXi 5.1 and earlier, follow the steps below:
- Power off the virtual machine.
- Right-click the virtual machine and click Edit Settings.
- Click the Options tab.
- Click General under the Advanced section and then click Configuration Parameters. The Configuration Parameters dialog opens.
- Click Add Row.
- Add the “ctkEnabled” parameter and then set its value to “true”.
- Click Add Row, add “scsi0:0.ctkEnabled”, and set its value to “true”.
NOTE: The “scsi0:0” parameter in the “scsi0:0.ctkEnabled” value indicates the SCSI device assigned to the hard disk that is added to the virtual machine. Every hard disk added to the virtual machine is given a SCSI device that appears similar to scsi0:0, scsi0:1, or scsi 1:1. - Power on the virtual machine.
ESXi 5.5
CBT cannot be enabled without removing the VM from Inventory.
To enable CBT in a virtual machine on Free ESXi 5.5, follow the steps below:
- Power off the virtual machine.
- Right-click the virtual machine and click Remove from Inventory.
- Open Datastore Browser and browse the datastore where the virtual machine configuration file <VM name>.vmx is located.
- Open the virtual machine folder on the datastore and download the <VM name>.vmx file.
- Open the downloaded file using a text editor.
- Manually add the ctkEnabled = “true” attribute.
- Manually add the scsi0:0.ctkEnabled = “true” attribute.
NOTE: The “scsi0:0” parameter in the “scsi0:0.ctkEnabled” value indicates the SCSI device assigned to the hard disk that is added to the virtual machine. Every hard disk added to the virtual machine is given a SCSI device that appears similar to scsi0:0, scsi0:1, or scsi 1:1. - Save the modified file.
- Upload the modified <VM name>.vmx file back to the datastore.
- Right-click the uploaded file and click Add to Inventory. The wizard for adding to inventory opens.
- Follow the wizard and complete adding the virtual machine to Inventory.
- Power on the virtual machine.
More information on Enabling CBT in VMware VMs can be found in VMware KB 1031873.
