If you ever come across a scenario where you are in need of a FreeBSD machine to tinker a bit with, look no further but come and join me in my quick tutorial to set one up on the fly.
Before we can begin with this tutorial it’s assumed you already have Vmware workstation installed and the FreeBSD ISO installation file downloaded and ready.
For the sake of reference, here’s where you can download this software:
FreeBSD 10.3-RELEASE
VMware Wokrstation Pro Trial
Set up a new machine for our FreeBSD installation in VMware Workstation:
- File – New Virtual Machine
- Typical (recommended)
- I will install the operating system later
- Other –> FreeBSD 64-Bit
- Give your machine a Name and a Location
- Store virtual disk as single file (20 Gb will do)
- At this point you can customize your network config to switch to bridge instead of nat mode if you want.
- Attach your FreeBSD ISO to this Virtual Machine and start it (you should already had unzipped that ISO by now).
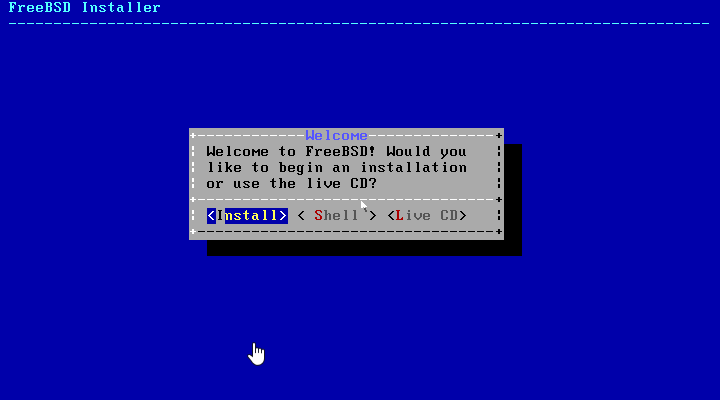
You should be presented with the boot-loader of the FreeBSD OS, just wait for the autoboot to kick in.
Really like the avatar they have chosen for this btw.

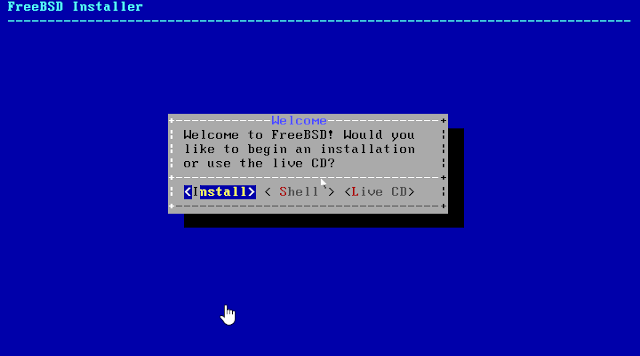
Choose to install FreeBSD:
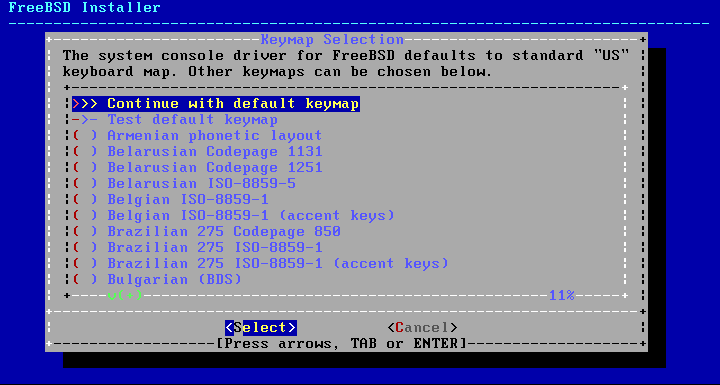
Select the keyboard layout of your choice:

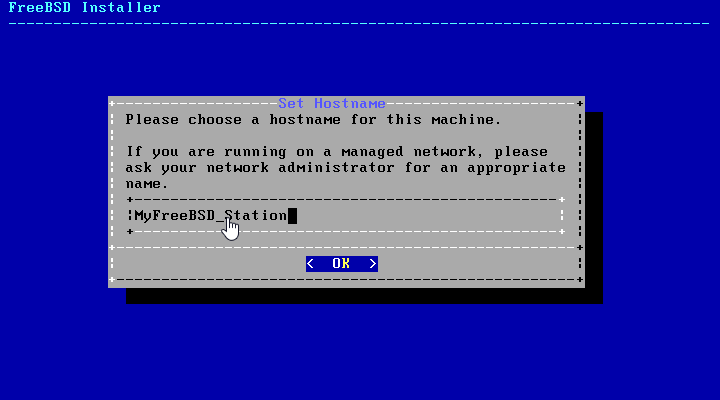
Set the hostname for your machine:

Since were experimenting, we’ll choose to install everything there is to install:

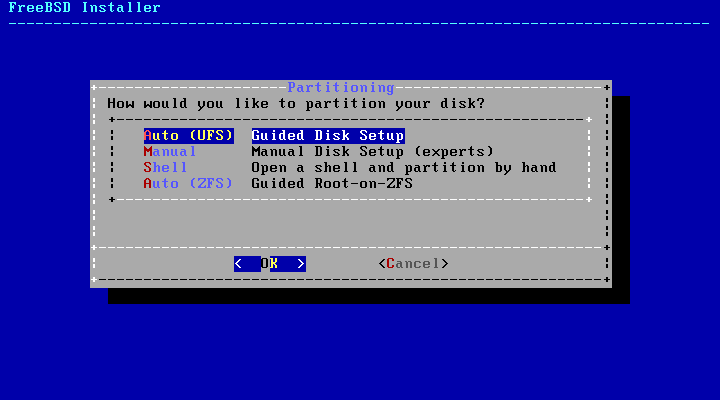
Because it’s our first FreeBSD installation 😛 or just out of plain lazyness, we will use the Guided Disk Setup:

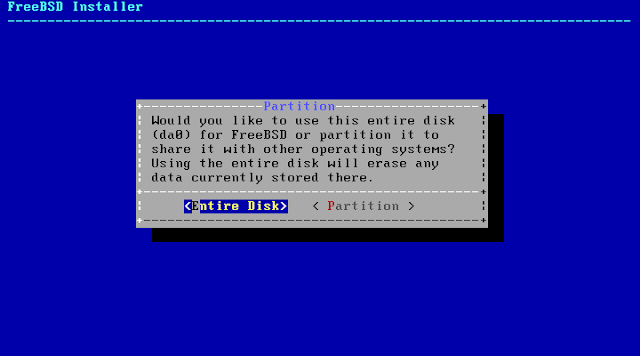
Use your entire disk for the FreeBSD installation:
Use the default GPT partition table:

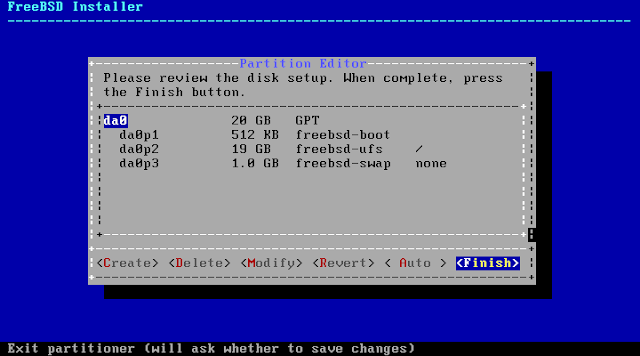
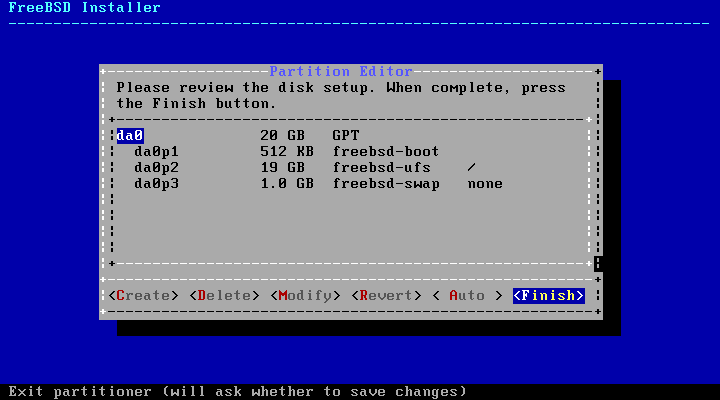
Accept the default lay-out:
After partitioning, your system will start installing:

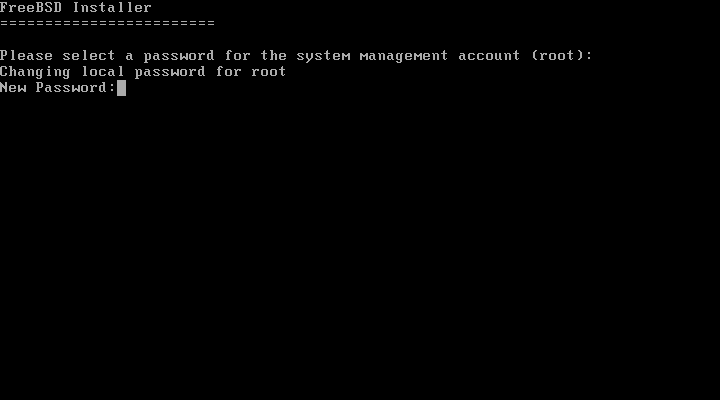
After install, set your FreeBSD installation’s root password:

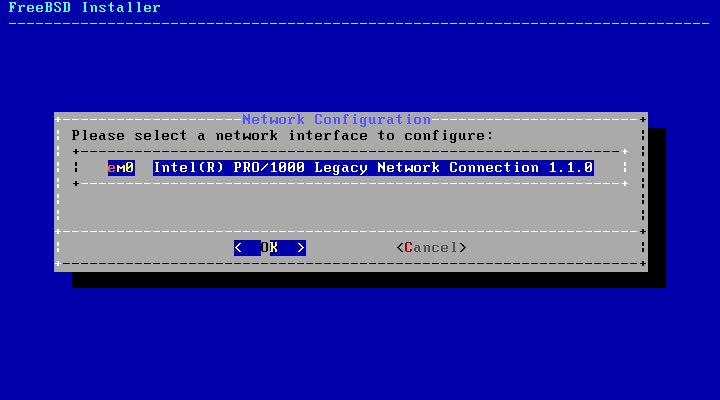
Select your network interface to configure;

Choose to set an IP address:

Choose to configure this with DHCP:

For this tutorial we will not install IPv6
Accept your network configuration:

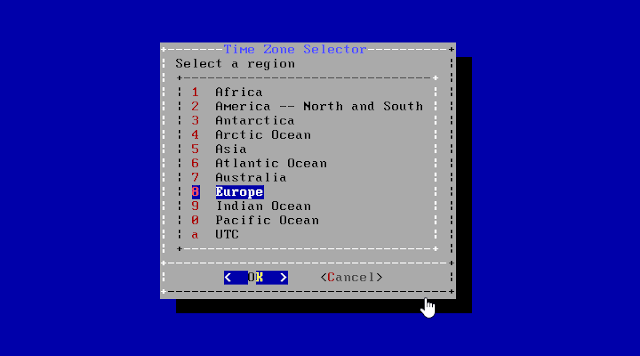
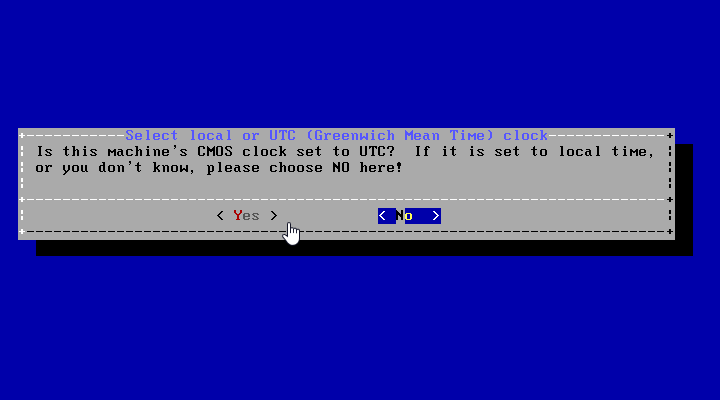
Set your timezone details:


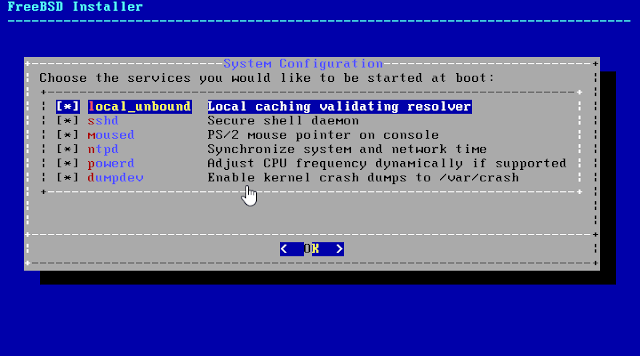
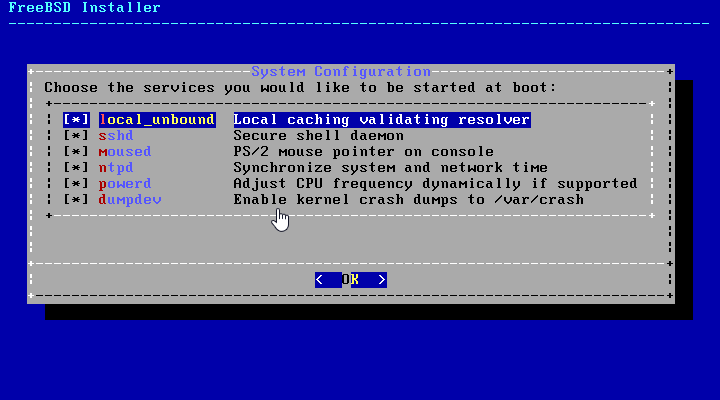
Choose the services that u want to have started at boot, for our fiddling machine, we will start everything …
For this installation we will not be setting up any users, but remember that it is a good practice to do so.
In normal circumstances you don’t mess around in your root account :-), but since this is only a test machine ….
Confirm the configuration:
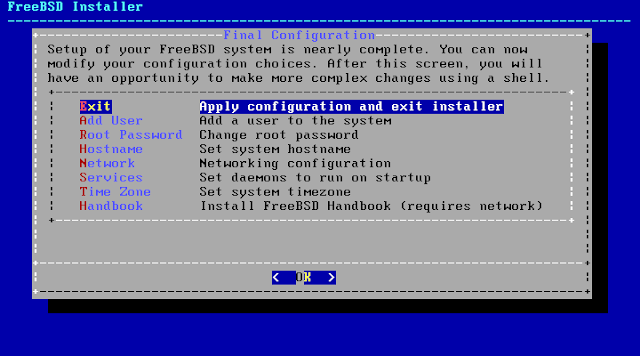
Select no for final modifications and reboot.
After rebooting, log in to your FreeBSD installation console with root and the password set by you.
To make the integration with VMware Workstation working, we will need to install the VMware tools in our FreeBSD machine.
Before we can start installing these tools, we first need to install the dependencies for it.
Two things needs to be installed:
1. perl
Change to the source folder of perl on the system (yes go to version 5.20, it’s the default for that installation)
- cd /usr/ports/lang/perl5.20
Compile and install this version of Perl (accept all defaults):
- make;make install;make clean
2. compat6x
Change to the source folder of compat 6x on the system:
- cd /usr/ports/misc/compat6x
Compile and install this version of compat6x:
- make;make install;make clean
In normal circumstance you will now already see the ‘install tools’ prompt at the bottom of your virtual machine:

Click on ‘Install Tools’, this will insert the VMware tools installation cd in your virtual CDROM drive.
Now punch in below commands to install the VMware tools (accept all defaults):
- mkdir -p /cdrom # create a folder to mount the cdrom drive on
- mount -t cd9660 /dev/cd0 /cdrom # mounting the cdrom drive on the cdrom folder
- cd /tmp
- gunzip -c /cdrom/vmware-freebsd-tools.tar.gz | tar xf – # unzip our tools package
- umount /cdrom # unmount our cdrom
- cd vmware-tools-distrib/
- ./vmware-install.pl # install our vmware tools


If you try to run the tools with ./vmware-install.pl, you’ll get an error “command not found”. That’s because the provided script is looking for perl under /usr/bin. As of FreeBSD 10.1, perl is no longer a system binary and after the install, the binary is under /usr/local/bin.
So, edit the following files and replace /usr/bin/perl with /usr/local/bin/perl in the following three files. It’s the first line in all three files.
- vmware-install.pl
- vmware-install.real.pl (if you have VMware Workstation 12)
- bin/vmware-config-tools.pl
- bin/vmware-uninstall-tools.pl
At the end of the vmware tools installaltion, you will be able to start the VMware Tools by invoking:
/usr/local/bin/vmware-toolbox-cmd
Your FreeBSD Virtual Machine Network:
In default, your virtual machine will boot presenting an intel network driver to the FreeBSD OS which the OS recognises and has a driver for, and hence the OS will be able to use that network interface.
The install comments of the VMware tools note that u need to add the following line to /etc/rc.conf
- ifconfig_vxn0=”DHCP”
You need to take this comment with a grain of salt. In default configuration the /etc/rc.conf file will specify a line which makes the machine use the default Intel network driver.
- ifconfig_em0=”DHCP”
You should only change it to the line proposed if you want to make usage of the vmxnet driver in VMware Workstation, actually a few changes are required if you want to do this.
1. You will need to shudown your virtual machine, edit your vmx file and change the following line (this will switch the network driver for your virtual machine from Intel to vmxnet after rebooting):
- ethernet0.virtualDev = “e1000” into ethernet0.virtualDev = “vmxnet”
2. In your /etc/rc.conf you will need to change to following line:
- ifconfig_em0=”DHCP” into ifconfig_vxn0=”SYNCDHCP”
3. In your /usr/local/etc/rc.d/vmware-guestd you have to change the following line so that the VMware tools guest daemon would start before “netif”.
- # BEFORE: LOGIN into # BEFORE: LOGIN netif
I leave it up to your judgement if you really need this change. A possible benefit I guess is that the vmxnet driver supports 10G nic’s.
In my case after making this change, dhcp wasn’t giving me any ip address, so I configured an IP address manually by inserting below into /etc/rc.conf
- ifconfig_em0=”inet 192.168.0.254 netmask 255.255.255.0″
- defaultrouter=”192.168.0.1″
>How-To-Repeat:
Use sysinstall to configure the open-vm-tools ethernet driver and then reboot.
>Fix:
I was able to solve this by changing the rc.conf line configuring the device from ifconfig_vxn0=”DHCP” to ifconfig_vxn0=”SYNCDHCP”
But, I also had to change the following line in /usr/local/etc/rc.d/vmware-guestd so that it would start before “netif”.
From:
# BEFORE: LOGIN
To:
# BEFORE: LOGIN netif
For my own purposes I edited the /etc/ssh/sshd.conf and uncommented the line:
# Permitrootlogin = no
to
Permitrootlogin = yes
I know it’s insecure, but it’s just a test machine.
