If you have the need to control all your home equipment which has a remote available, look no further, the Raspberry Pi is your ultimate low-cost universal remote control tool available.
When I have some time to spare, you can find me at home messing around with Linux, Raspberry Pi’s and some home automation domotics.
Recently I was looking to extend my home domotics system to be able to switch every device which has a remote control in my house.
When I started searching for a solution, I was suprised how easily it was to build a solution consisting of a Raspberry Pi and some locally acquired electronic components.
Before I start explaining how to build the solution, let me first give u an overview of all the components which I used to build my remote.
Putting the Hardware together.
Component List:
1x Raspberry Pi, model B+ (look on second hand market, or internet, can be acquired for as low as 20€)

- 1x Transistor BC557C
- Price: 0,1 € / piece
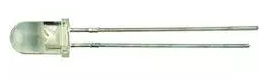
- 4 x IR-LED 5mm HE3-290AC
- Price: 0,35 € / piece
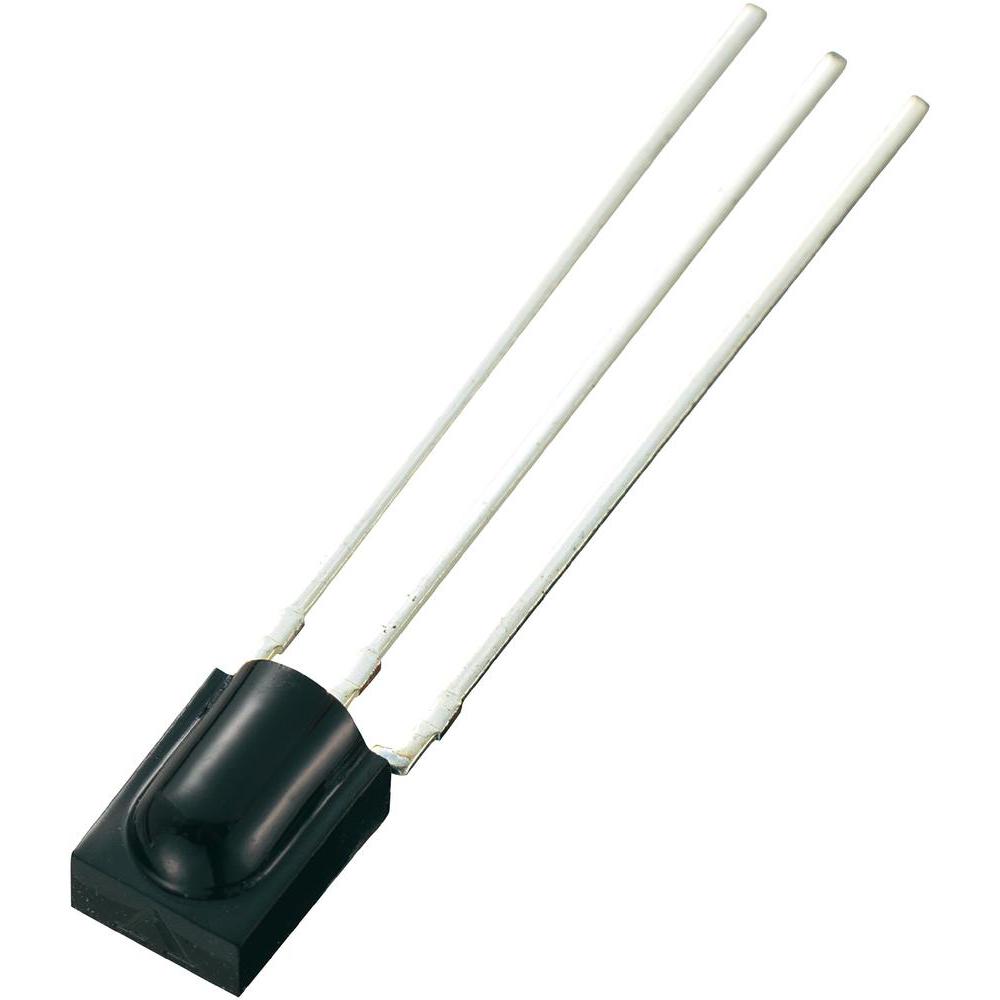
- 1 x IR Receiver 2,7-5,5v OS-0038G
- Price: 0,67 € / piece
- 4 x Resistor 56 Ohm 1/4w (you only need 4)
- Price: 3 € / 100 pcs

The Schematics:
To make it able to send and receive with our home built remote control, we have to connect two circuits to our Raspberry Pi, one send circuit and one receive circuit.
The send circuit consists of a few parts while the receiver circuit (the ir receiver) can be soldered directly onto the raspberry.
The send circuit:
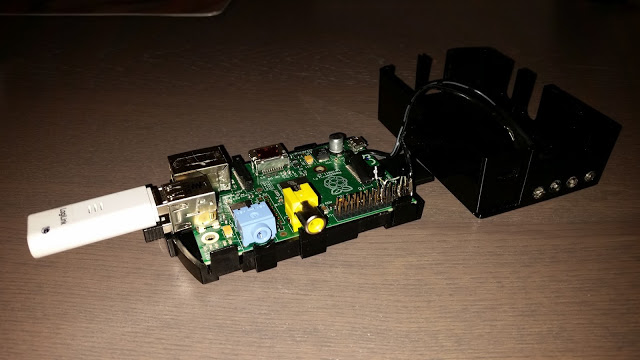
Since there are not too many components in the send circuit, no separate print plate is necessary to solder the components on.
I took my Raspberry Pi housing, drilled 4 holes in it to fit my IR leds, glued these to the casing with epoxy, soldered a resistor on each led’s anode, then lead two wires to my Raspberry Pi board where the leds cathode wire was soldered to the emitter of my transistor and the anode wire directly to pin 2 on the Raspberry Pi board (+5v).
I had soldered the collector of my transistor directly to pin 9 (GND) and the Base of my transistor to pin 11 (GPIO17)


The receive circuit:
The IR receiver can be soldered directly onto the Raspberry Pi’s pins 4 (+5v) – 5 (GND) – and 12 (GPIO18) respectively.

Configuring the Software.
The Raspberry Pi operating system.
Take the latest Raspbian version, as of writing, this is Raspbian Jessie from November 2015, download it from the Raspberry foundation website, put it to SD card and start off.
The Infrared software driver.
The linux platform (Raspbian in this case) already has packaged support for lirc – infrared control software for linux.
To interface this software with the hardware on the Raspberry Pi, a driver was written called lirc_rpi.
This driver is provided as an overlay kernel snapshot file which needs to be enabled in the configuration of the Raspberry Pi. Once enabled it loads when the Raspberry Pi boots up, no further loading via modules or modprobe is necessary.
To enable the lirc_rpi driver, we need to make a modification in the /boot/config.txt file
In the config file there is an option called: #dtoverlay=lirc-rpi
It needs to be uncommented and a small addition needs to be made to invert the IO logic to make this work properly. The config file resides on the /boot folder and is mapped on a read only partition, so we first need to remount it read/write to edit the config file.
$ sudo mount -o remount rw /boot
$ sudo nano /boot/config.txt
- remove: #dtoverlay=lirc-rpi
- add: dtoverlay=lirc-rpi,invert=on
- Ctrl-x to save
Reboot your Raspberry Pi, it will load the lirc-rpi driver on boot now.
$ sudo reboot
The infrared control software.
As stated previously, the linux platform (Raspbian in this case) already has packaged support for lirc – infrared control software for linux, setting this up in Raspbian is just installing a package.
$ sudo apt-get -y install lirc
This will set up the required binaries and services for our remote control.
For a detailed description and manuals about this software, you can visit the lirc project website http://www.lirc.org/
configure your lirc hardware config file to reflect below configuration:
$ sudo vi /etc/lirc/hardware.conf
# Arguments which will be used when launching lircd
LIRCD_ARGS="--uinput"

# Don't start lircmd even if there seems to be a good config file
# START_LIRCMD=false

# Don't start irexec, even if a good config file seems to exist.
# START_IREXEC=false

# Try to load appropriate kernel modules
LOAD_MODULES=true

# Run "lircd --driver=help" for a list of supported drivers.
DRIVER="DEFAULT"

# usually /dev/lirc0 is the correct setting for systems using udev
DEVICE="/dev/lirc0"
MODULES="lirc_rpi"

# Default configuration files for your hardware if any
LIRCD_CONF=""
LIRCMD_CONF=""
The binaries that we will be using for our remote control are:
- mode2 -> it can visualise ir reception on our ir sensor
- irrecord -> this binary can sample keys from existing remote controls and record them to a config file
- irsend -> send out ir control signal
Once the software is installed, a daemon called lircd will be running, it reads it’s configuration from /etc/lirc/lircd.conf – this file contains our remote control defenitions that we can send out amongst some other stuff.
To work manually with the above mentioned binaries we first need to stop the lircd daemon because it will interfere with our work otherwise:
$ sudo service lircd stop
To make sure our ir receiver is working properly, we will perform a small test, enter below command and point a remote control to your ir sensor and press a button, it should display remote control codes:
$ sudo mode2 -d /dev/lirc0
Once verified that our ir sensor is working, we can now start recording existing remote control buttons, launch below command and follow instructions, it will record a configuration file which we can feed to our ir daemon afterwards.
$ sudo irrecord -d /dev/lirc0 ~/lircd.conf
Once recorded, copy your remote control file to /etc/lirc/lircd.conf and start your lircd service:
$ sudo service lircd start
Once that the daemon is running with the recorded remote control configuration, you should be able to send out IR remote control codes, U can do a test by using below example.
$ irsend -# 2 -d /var/run/lirc/lircd SEND_ONCE telenet KEY_OK (read irsend manpage)
Now that we have configured the Infrared hardware and software, it’s time to make it a bit more user friendly by installing a website for all this so we can easily use the remote control from any device which has a web browser.
There is a nice project on Github written by Alex Bain which just does all this:
