Let’s get ready to use the Raspberry Pi as low-cost Full HD surveillance IP camera.
First download your copy of the Raspberry IP Camera software at http://ronnyvdbr.github.io/RaspberryIPCamera/
After downloading, write the image to SD card with the win32diskimager software.
Put your SD card into the Raspberry, boot it up, scan your network for the right IP address of the IP Camera as it will be autoconfigured by DHCP.
Set up the Camera for usage with Synology Surveillance station:
1. Log in to the web interface with admin as username and raspberry as password.

2. Click the camera settings entry on the menu bar.

3. Set the camera to it’s highest resolution, after that set the format to H264 (Streamable over RTSP), after that, click apply on the bottom of the page.

Now add the IP Camera to your Synology Surveillance Station:
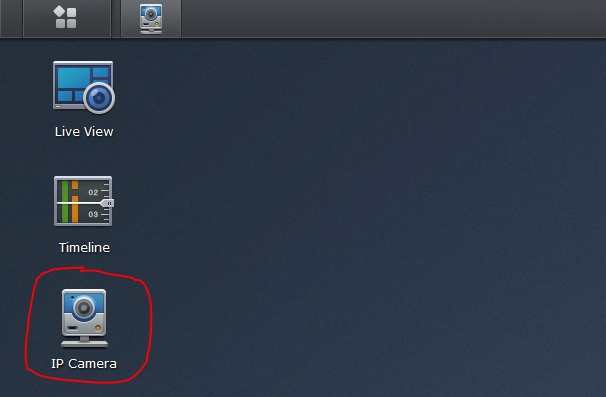
1. Open your Synology Surveillance Station web interface, and open your IP Camera control panel.

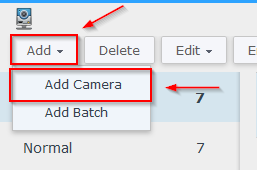
2. Select ‘add’, then select ‘Add Camera’.
3. Select ‘complete’ and click ‘next’.

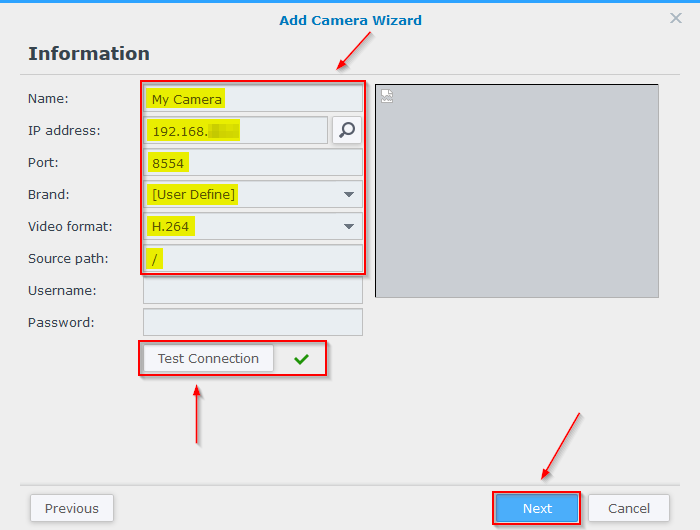
4. Name your Camera, fill in the IP address, set the port number to 8554, select User Define as brand, and set the source path to / (note that the password for this is blank, so do not enter a password)

This is so cool! I am having issues with adding the camera to the Synology since they have updated the fields for the [User Defined] camera. I cannot for the life of me figure out how to connect the camera, could you help me out? Thanks!
LikeLike
Hi! i had the same problem. Uninstall your current version and download older version here : https://archive.synology.com/download/Package/spk/SurveillanceStation/
i tested 2018-09-30 release and it did work 🙂 but i could not connect my camera, i guess a normal webcam doesent work for this
LikeLike
Same for me!! How to fix ?
LikeLike
tanks for the manual, but can i use a Orange Pi instead of a respberry pi ? It´s the same size i think it´s a copy .
LikeLike